Is it worth lubing switches?
They should work just fine out of the factory, right?
From a functional standpoint, there's only one reason to lube your switches: and that's to remove the spring ping, although lubing is so much more than removing the spring ping. It's also about improving the feeling when you type.
And considering that we press our switches more than 50 thousand times a day, it's probably a good idea to get that feeling right.
So what's the best way to lube your switches? Watch the video or read below;
What you'll need;
Since we're lubing electronic components, we can't just use any greasy material sitting around the house.
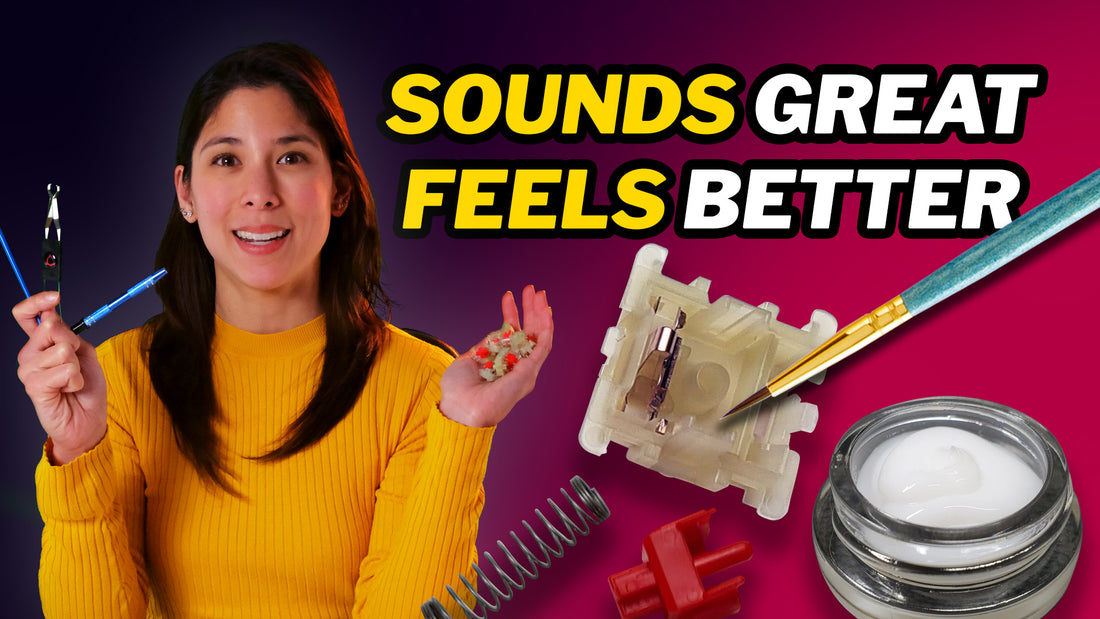
Instead, we'll use dielectric grease. We recommend getting a thicker one for the switch, the most common being Krytox 205. And a thinner one for the spring, like the Krytox 105, which is closer to oil. They are usually sold together.
The other tools required will be:
-
The keycap and switch puller
-
A switch opener. You can work around with a flat screwdriver, but this little guy will save you a lot of time. It's worth the investment.
-
Tweezers. Not the BBQ ones.
-
💡 B-roll trying to grab a switch with cooking tweezers
-
-
A thin brush, around 5 mm will suffice.
-
A jeweler's claw. This isn't necessary, but it comes in handy.
-
And, of course, our signature Dygma Bowls.
All these tools are often sold as part of lubing kits. If it's the first time you're doing this, we recommend you get a kit and save some time.

Disassembly
First, you'll need to pull your switches out. Once you've done that you can then proceed to opening the switches with a switch opener. Remember, there are different switch openers for Kailh and Cherry.
Place your switch on the opener, then push down.

Grab the top housing first, then the stem, and then the spring and the bottom housing.
Keep each part in a separate container.
Lubing
To lube the springs, throw them all in a bag and sprinkle them with a few drops of the thinner, 105 lube and shake it!
Now let's move to the housing. The goal is to improve the feel and movement of the switch, so we need to lube all the moving parts.
Grab one and take a tiny bit of grease. Always start with a small amount. Going short on lube is not a big problem. You can always add more. Removing it is more complicated.
Hint: If the grease looks white, it's too much. Try to remove it with the brush and re-distribute it.
Now, paint the plastic channels in the bottom housing, and don't forget to add some grease to the spring holder.

To lube the stem, you need to grab it with the claw and gently grease the part that's in contact with the rails, the front, and the back.

Don't lube the legs of the stem, especially if you're lubing tactile or clicky switches. Doing so might reduce or even remove the tactile bump, and that's not what we're looking for here.

Once the parts are all lubed, it's time to reassemble the switch.
Reassembling
Use the tweezers to grab the spring and place it on the holder of the bottom housing.

Now mount the stem on the spring. Pay close attention to the direction of the legs: they must point to the leaf. Otherwise, the switch won't work.

Finally, place the upper housing very, very carefully, with the flat bit opposite to the metal leaf. It's not rocket science, but it's also easy to mess up if you're doing it without paying close attention.

And you're done. Now repeat the process for all your switches, reassemble the keyboard, and enjoy!
Tips & Tricks
-
Create a proper setup for the operation.
-
Don't touch the lube with your bare hands. You don't wanna get grease all over your setup.
-
Double-check if you've correctly closed the switch; otherwise, it won't fit on your keyboard. Always listen to the "click" the switch makes when properly closed.
-
Finally, watch your posture. Don't slouch or bend the neck.
