What even is an ortholinear keyboard?
What makes them different from staggered keyboards?
Talking all about what you need to know when transitioning from the traditional keyboard to the waffle, ehem... ortholinear.

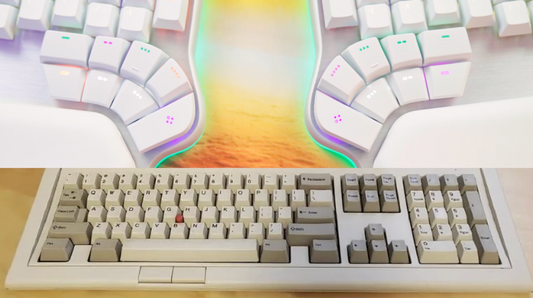
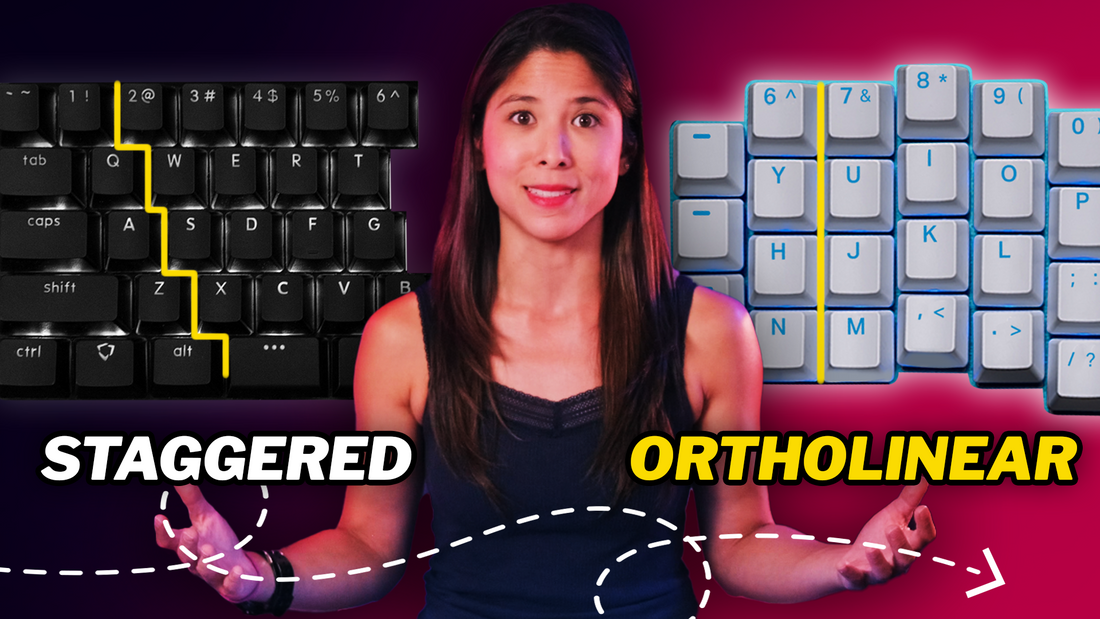
What's the difference between a staggered and an ortholinear keyboard?
First, what's the difference between a staggered keyboard and an ortholinear keyboard?
Simply put, conventional keyboards have keys arranged in rows that are not aligned, AKA staggered.
This design was copied from the first-ever typewriters. In those, each key was a lever that needed to reach the paper, and staggered rows allowed that.
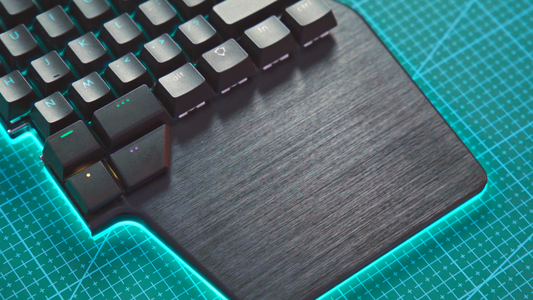
What about ortholinear keyboards? Well, the word "ortho" means "straight," and "linear" means "arranged in a straight line." So I don't think that needs further explanation.

Instead of conforming to the traditional layout, they use a grid-like arrangement.
This layout allows for a more natural movement of the fingers to reach the rows above and below.
However, our fingers are not all the same length, so why should we place them all in a row at the same height?
That's why, on most ergonomic ortholinear keyboards, the columns are staggered according to the length of the fingers.

So, technically, we shouldn't call them ortholinear but columnar. However, many people use both terms indistinctively.
This columnar stagger promotes a more intuitive finger placement and further reduces wrist and finger strain.
But the big question remains: Are ortholinear and columnar keyboards more ergonomic?

Theoretically, an ortholinear keyboard can enhance typing speed, accuracy, and comfort. They break away from tradition and bring you a step towards your ✨ergonomic journey✨.
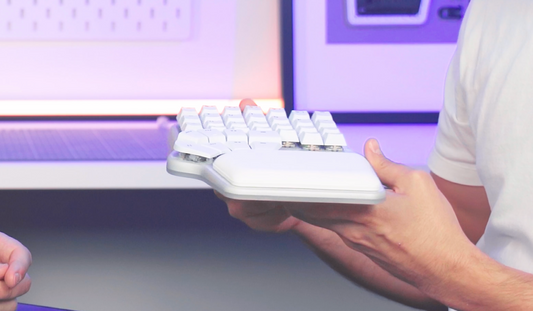
Transitioning from staggered to columnar
Let's say you've just received the new columnar keyboard you've waited for a lifetime. But the thing is, it's your first time using one.
What are your next steps?

Step 1: Learn how to touch type
If you're already a proficient touch typist, skip this and go to Step 2.
But if you're not, then listen up!
Touch typing means you need to start using all your available fingers! And pressing the right keys with them.
No cheating.
We recommend checking out Typing Club and Typing Study, where you can practice your touch typing skills and have fun learning with various games like Epistory.

Although some of us old-schoolers learned with games like The Typing of the Dead
You can practice on your staggered keyboard while waiting for your columnar keyboard.
If you have a programmable keyboard like the Dygma Raise, you can use LEDs to color the keys to know precisely which finger presses which key.
We recommend practicing 10-20 minutes a day until you finally can comfortably say you know how to touch type.

Step 2: Get rid of bad touch typing habits!
Some touch typing mistakes you can make on a staggered keyboard are forgivable. But when you bring those mistakes to your columnar keyboard, the consequences can be catastrophic.
For example, pressing Q & P with the ring finger, pressing X with the middle finger, or using your index finger to press C.

This doesn't fly on ortho keyboards. You'd hit the wrong key or, worse, two keys at once.
So get rid of those bad habits, master the alphas, and learn exactly which finger should press each key.
Practice is the best advice we can give for this step. Understandably, you'll get frustrated; you'll probably become unproductive for some time and barely get any work done.
Step 3: Find Your Space
Space is the most pressed key, and mistyping it will slow down your typing more than any other key.
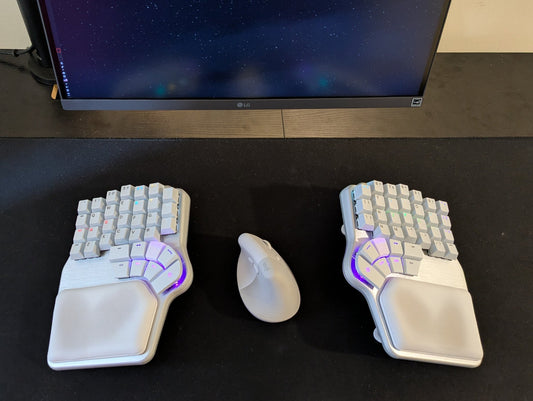
Most, if not all, ergonomic keyboards are split and have multiple thumbkeys.

This means that you need to find out which key in the thumb cluster is the most comfortable for you and your space.
If you're not sure which one it is, you can set several thumb keys to be your space and find out which ones you actually press.
After mastering the alphas and finding your space, you are ready to move onto the thumb cluster.

Step 4: Customize your thumb cluster
It's time to stop using your pinkies for the modifiers and start assigning them to the thumbs.
Ask yourself what your most used modifiers are. It could be CTRL or CMD, but most probably, it's Shift.
Start with those and add them to where you think it feels right to have them assigning a different color to these keys will help get you used to the new disposition.

You can then start assigning dual-function keys, where you can have Space or Enter when you tap it and Shift, Ctrl, or any Modifier when you hold it.
Columnar keyboards also have extra keys in the inner columns. Those are not comfortable for modifiers but open a world of possibilities.
Step 5: Customize it your way
Once you have mastered steps 1 to 4, it's time to expand the possibilities. Create different layers, macros, superkeys, and anything you need!
You can have a layer for symbols, a number pad layer, and another one for navigation... the possibilities are endless.

We recommend starting with one layer at a time and adding new keys slowly to avoid visual pollution and mental overload.
If you want to learn all about layers, macros, and superkeys, check out this playlist.
And don't forget to practice, practice, practice.
It takes time to master anything, so be patient.
You can always have a backup plan, like having a staggered keyboard around in case you need it.
Don't worry; learning a new layout won't wipe the staggered mechanics from your brain; it will just expand your skillset.
Remember, retraining muscle memory requires perseverance. Eventually, it will come naturally to you.

Set realistic goals and start with the easy things before moving to more complex tasks.
Try to beat your own time typing a pangram (sentence with all the letters of the alphabet), such as "The quick brown fox jumps over the lazy dog" or "The five boxing wizards jump quickly".
In Spanish: "Fabio me exige, sin tapujos, que añada cerveza al whisky"
In German: "Victor jagt zwölf Boxkämpfer quer über den großen Sylter Deich"

You're not going to match your previous typing speed that quickly, but a realistic goal would be to get at least 75% of it within the next three months.
If you aim to improve your health and reduce finger travel, focus on comfort and better posture rather than performance.
Hopefully, you've learned a thing or two from this video, and you'll soon be using your ortholinear or columnar keyboard like a pro!
Goodbye for now!