Tenting
Raising your Raise
Attaching the tenting kit to your Dygma Raise is a piece of cake, but we've made a video to make it even easier.

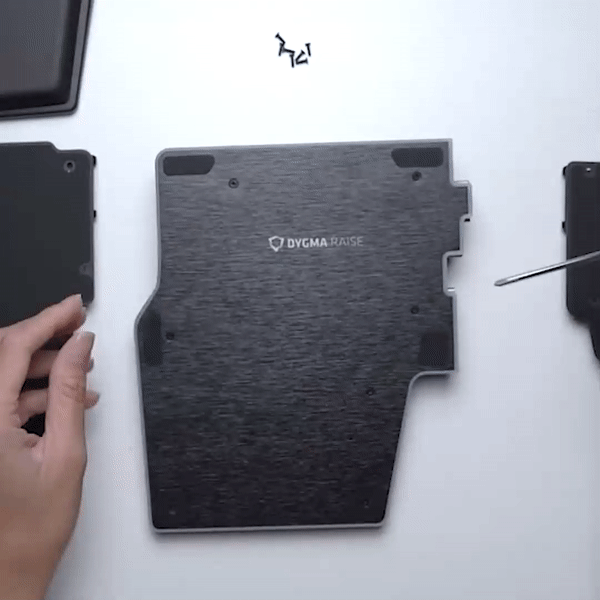
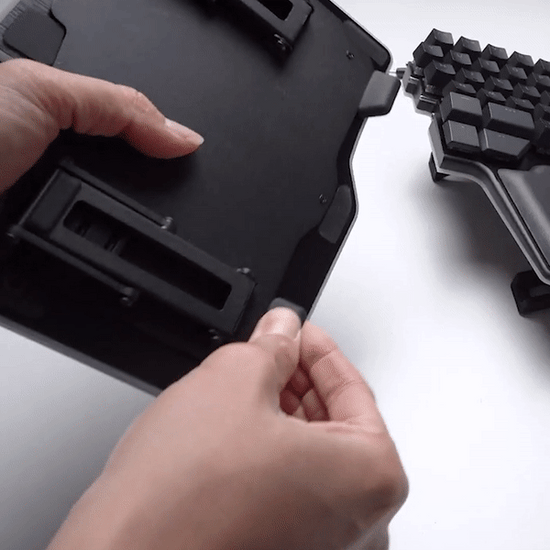
Step 1: Remove Screws
Remove the top 5 screws on each side of the keyboard. Use the screwdriver included in your tenting kit.
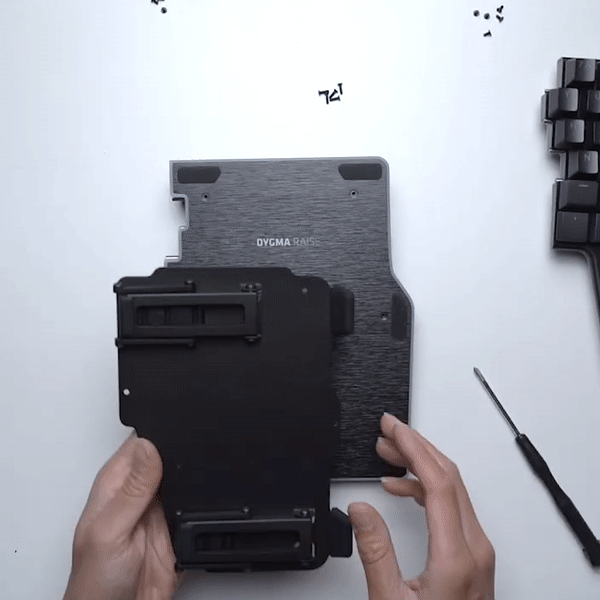
Step 2: Attach Tenting
Attach the tenting kit to your keyboard by screwing in the longer screws provided in the box.
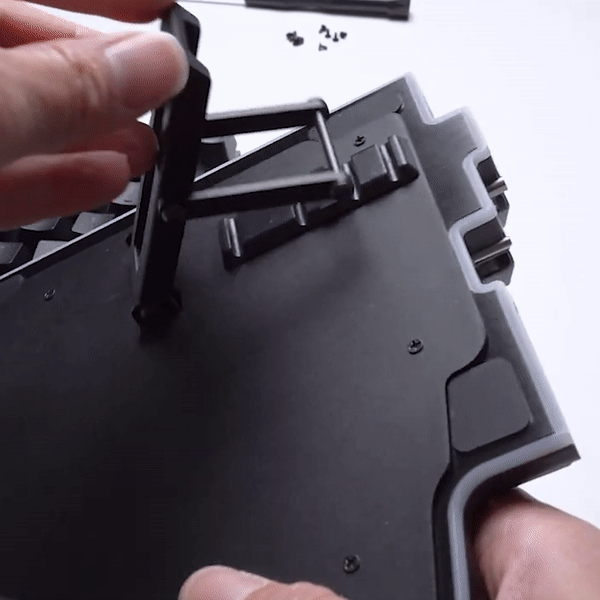
Step 3: Select Angle
Slot the axel in the angle selector to set up the desired tenting angle.
Some useful tips
-
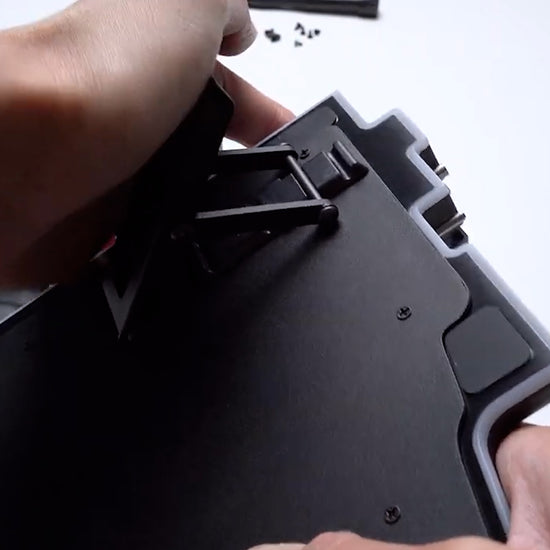
Snap
Ensure the axel is properly inserted in the angle selector when changing angles.
-
Check
The small rubber feet can be removable. Make sure they are inserted properly.
-
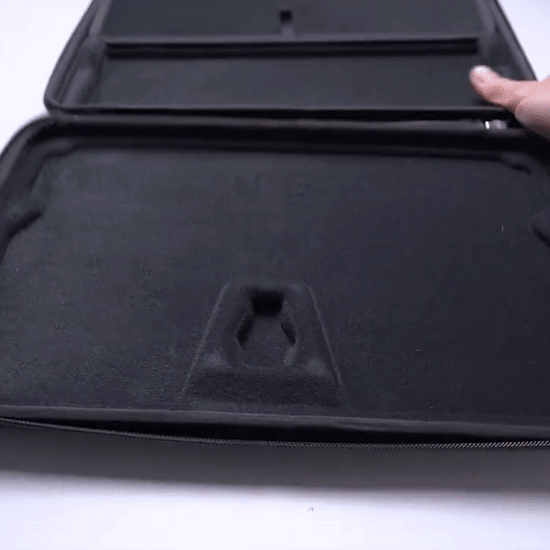
Fit
The Dygma Raise fits in the travel case with the tenting kit on. The top row keys might be slightly pressed, but that's not a problem.


Want to know more facts about the tenting kit?
The Dygma Raise tenting kit can be set at multiple angles, ranging from 10º to 40º, so you can find the most comfortable one. It can also be laid flat, although you have to consider that the height is lifted by 10mm.
It is made of powder-coated steel and weighs about 500g, so it's as sturdy as it gets, and you can use it as a blunt weapon in an emergency.